Greeting cards are one of my favorite projects to work on…not that send out a lot of cards to remember birthdays and anniversaries. Lately, I have moved from discarded grade-school readers to paper napkins. There is something so satisfying when you show the card to someone and they express how surprised they are that a part of the card is made with a napkin. The graphics on so many of our paper napkins today are brilliant and colorful.

The above photo are all Christmas themed paper napkins. I back them with cardstock and then layer coordinating cardstock behind them. The greeting tags are printed out on my computer or they might be tags I got from somewhere.
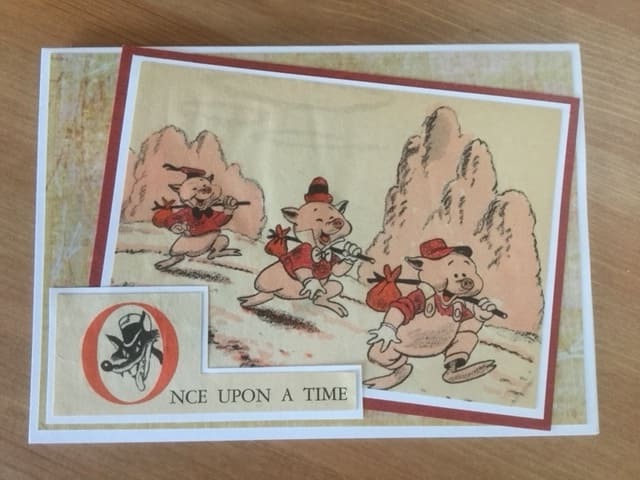
My friend, Sue, gave me a really funny paper napkin and I turned it into a card. I still laugh when I look at this photo. Just a note…women talk about so much more!

Part of my volunteering at Edwards Center is making cards for major holidays. I usually make treat boxes or little crafts to go along with the cards. I have three group homes that I make cards and treat boxes. Note on these cards I used a mat background behind the paper napkin card.

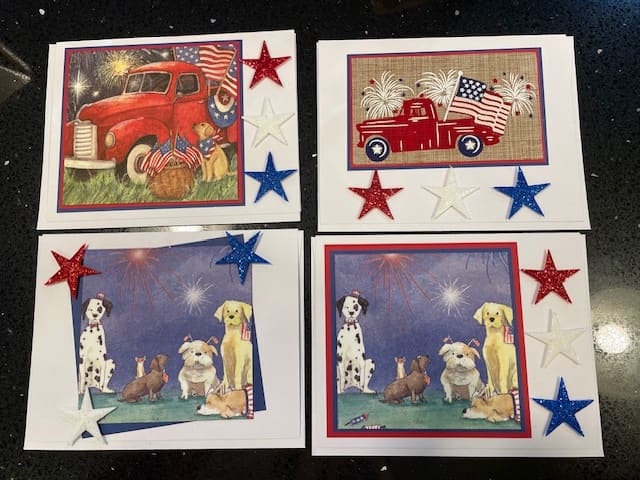
The 4th of July cards were fun. These are actually last year’s cards. I really do not know if I can top them this year. My husband 3-D printed the stars and I glittered them. Fine glitter works well with 3-D filament. I used different displays on these cards. Some are tilted and some are just squarely matted. The upper right-hand card is made with a ribbon instead of a paper napkin. It makes for a clean looking card.
I especially love floral paper napkins. These sunflower cards are some of my favorites. I experimented with different colored matting behind the napkin on cardstock.

How did I make these cards?
I use cardstock as a base. It needs to be ¼” smaller on each side than your greeting card base.
Using one-inch double-sided tape (you can get this on Amazon), carefully lay the tape down, butting each piece up again each other. I trim any excess tape off the sides.
Remove the extra plys of backing paper from the napkin. Be careful, as some napkins can and will tear easily. Lay the napkin face-down on the work surface. Turn the tape-side of your cardstock down and onto the paper napkin. Turnover and gently smooth out any wrinkles with your finger or a bone folder. Trim away napkin excess, leaving about a half-inch of napkin extending out from the card on all sides. Use ¼” double-sided tape on the back of the paper napkin cardstock piece. Miter the corners, coming about 1/8th inch from the corner tip. Fold napkin edges to the back.
Mat the napkin card with a coordinating color and place onto the greeting card blank with either double-side tape or glue. Add a tag or other decoration to the card and you are done! You can add a rubber-stamped greeting inside. I usually leave my cards blank inside. It gives more room for writing messages.
If I get enough interest in creating a video of how to make these cards, I will certainly begin work on these projects. Let me know in the comments if you are interested. Be kind.